
Ensuring Your Boat Build is Right: Crafting Accurate Forms
The first crucial step in building a boat the right way is ensuring you have accurate forms. While you could opt for a pre-cut kit from a CNC machine, doing it yourself by cutting the forms from the paper patterns provided in the plans is actually quite straightforward.
The kayak plans from Guillemot Kayaks include full-size, fully drawn-out patterns. This means you can simply glue the kayak plans directly onto your form material and cut around the lines. Be sure to leave about 1/2 inch of extra material around the outside of each individual pattern.
I typically use Medium Density Fiberboard (MDF) for the forms, as it is dimensionally stable, lacks interior voids, and holds staples well. The only potential downside is that MDF can be a bit heavy, which may make setting up the strongback more challenging for a large boat. If weight is a concern, you can cut holes in the forms to reduce the overall heft.
When purchasing the MDF, I find that 2 x 4 foot pieces from the local home improvement store are easier to manage than a full 4 x 8 foot sheet. The smaller size is lighter and fits in most vehicles, though it does cost a bit more per square foot.
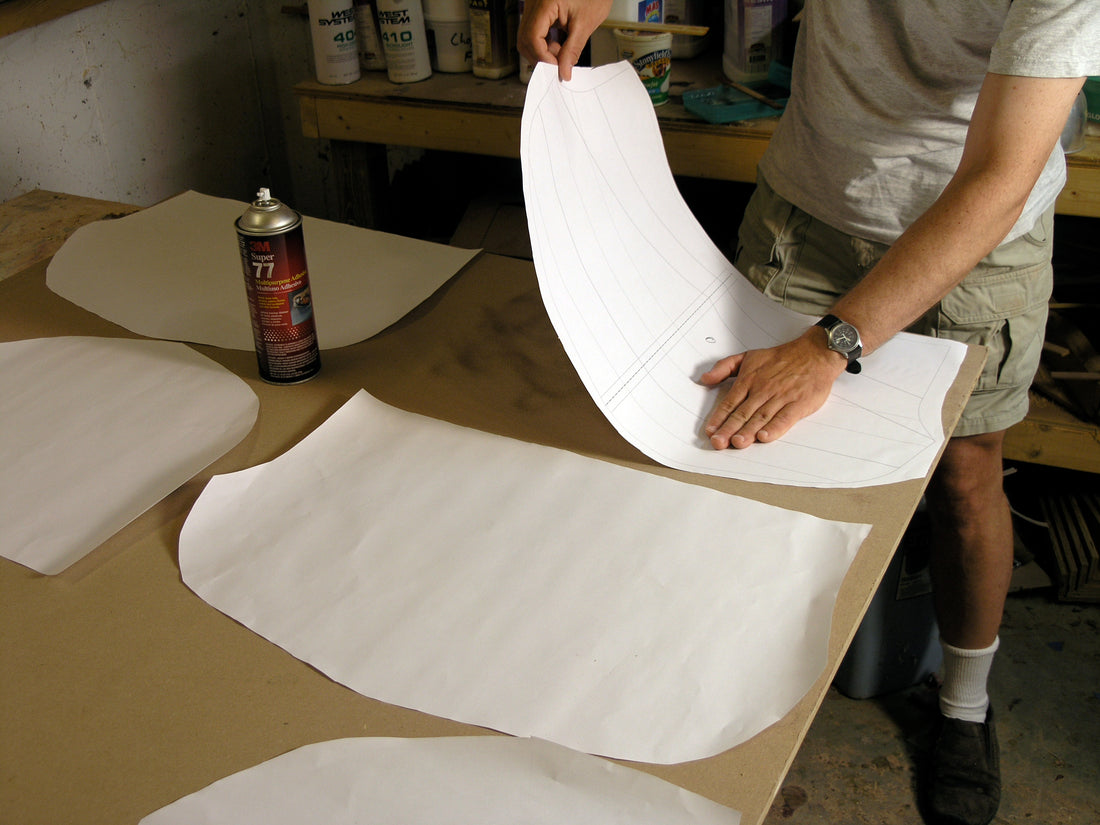
To lay out the kayak plan patterns, I place them all upside-down on the MDF, arranging them in the most efficient way to minimize material waste. Then, I spray the back of the patterns with a contact adhesive like 3M Super 77, followed by a light mist on the MDF surface. Carefully aligning the patterns, I start sticking down one edge at a time, working my way across to avoid wrinkles.
Next, I do a rough cut around the outside of each form using a bandsaw, cutting in a clockwise direction with the form to the right of the blade. This makes the individual pieces easier to handle for the final, accurate cutting. I aim to keep the cut line just to the right of the blade, leaving the line intact.
On tight corners, I may need to back up and cut in a new direction to prevent the blade from wandering. For sharp internal corners, like hard chines, I cut straight through and then come back to cut along the new line.
Finally, for forms that require an internal strongback hole, I start by drilling holes at each corner, just inside the line. Then, I saw out the bulk of the material, leaving about 1/16 to 1/8 inch. Using an accurately cut template, I employ a template-following router bit on a router table to make the final, precise hole.
By taking the time to carefully craft your forms, you'll set the foundation for a boat build that comes out right.